
How to Test Your Sump Pump
Sump pumps are unsung heroes in homes, especially in areas prone to heavy rainfall or flooding. They work tirelessly to protect your basement or crawl space from water damage. However, like any other home appliance, they require regular testing to ensure they’re ready for action when needed. This article will guide you through testing your sump pump, ensuring your home remains dry and safe.
What Is A Sump Pump?
Before we get into how to test your sump pump, let’s go over what a sump pump actually does. These devices are typically installed in the lowest part of your basement or crawl space. Their primary function is to pump out water that accumulates around your home’s foundation, preventing potential flooding and water damage. Most sump pumps have a lifespan of 7-10 years, but this can vary based on usage and maintenance.
When to Test Your Sump Pump
The best times to test your sump pump are before the seasons of heavy rain – typically in early spring and late fall. Testing your sump pump at least once a year is a good practice, but if you live in an area with frequent storms or high groundwater levels, more frequent testing might be necessary.
Steps to test your sump pump
There are three steps to follow to test your sump pump properly. These steps should work for all makes/models of sump pumps, but be sure to check your sump pump manual for their recommendations.
Visual Inspection and Cleaning
Electrical Check
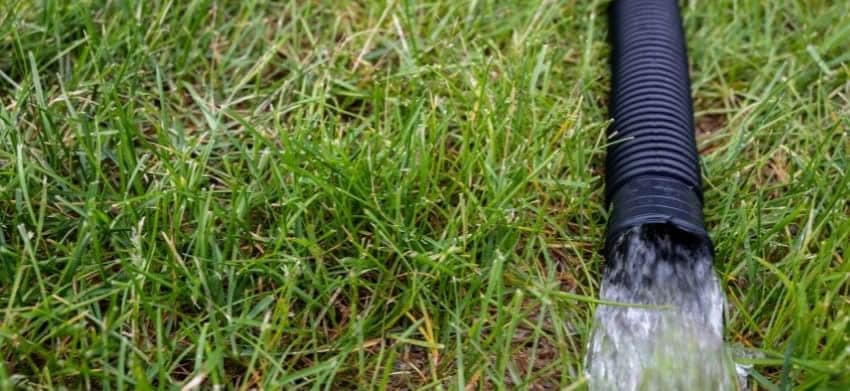
Water Test
Troubleshooting Common Issues
Regular Maintenance for Longevity
Regular maintenance can significantly extend the life of your sump pump. This includes cleaning the pump and pit, checking for wear and tear, and ensuring the discharge line is always clear. If your pump runs frequently, consider replacing it every 5-7 years.
Get In Touch
2406 Waco Commercial Ct.
Fuquay-Varina 27526